Hello everyone!
Halloween is one of my favorite holidays. I love dressing up and coming up with new ways to do old costumes. But, Halloween is also super expensive. Every year I budget myself no more than $50 to come up with a costume, hair, and makeup. I know some people even think that $50 is too steep for one or two nights.
You don’t have to break the bank to have the coolest costume at a party! I often buy or use clothes and accessories that I’d wear for every day to accentuate my costumes.
Here are some easy looks:
Zombie
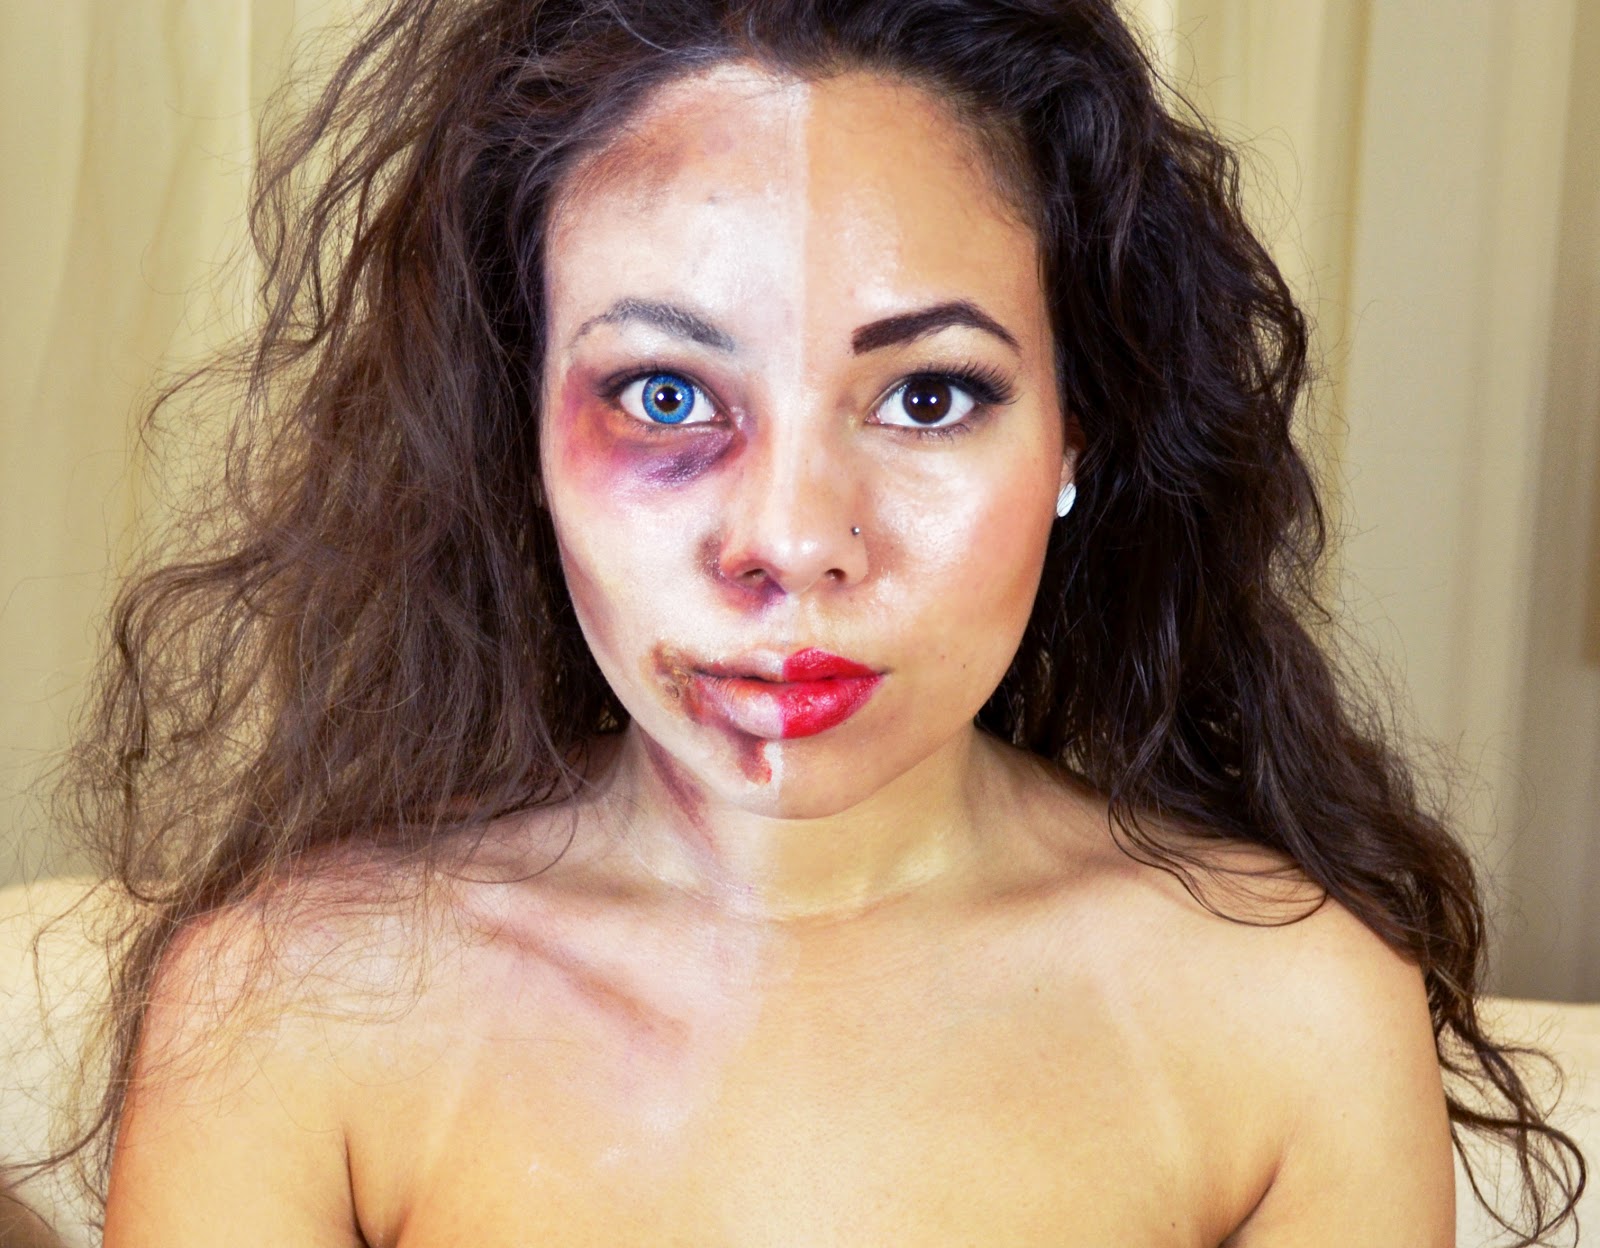
Zombies are really popular right now because of shows like The Walking Dead. I decided on a bit of a twist. This is my half Zombie, half Beauty look. All I used was a cheap Halloween kit from Walgreens ($5), some baby powder, a glue stick, my own makeup, and a blue circle lens.
Just cover half of your face in white paint, using a brush or sponge. I used a white face crayon to create an even line between both sides of my face.
Then, fill in directly under your eye (like eyeliner) with yellow + brown matte eyeshadow.
Using the natural hallows under your eye as a guide, blend purple, red, yellow, and brown matte eyeshadow. Do the same thing around your nose and bottom lip. Think about how you’d look if you just got your ass kicked in a fight.
Use a blush brush to add some purple matte eyeshadow to accentuate your cheek bones and lightly accentuate your jaw, temples, forehead, neck, and collar bone. Then, use a contour brush with matte brown eyeshadow to define exactly where your cheekbone is.
Next, use liquid latex or chunks from a nontoxic glue stick to create sores at the side of your mouth. When it’s pretty dry, color over with brown and yellow matte eyeshadow. It should look super cracked and gross.
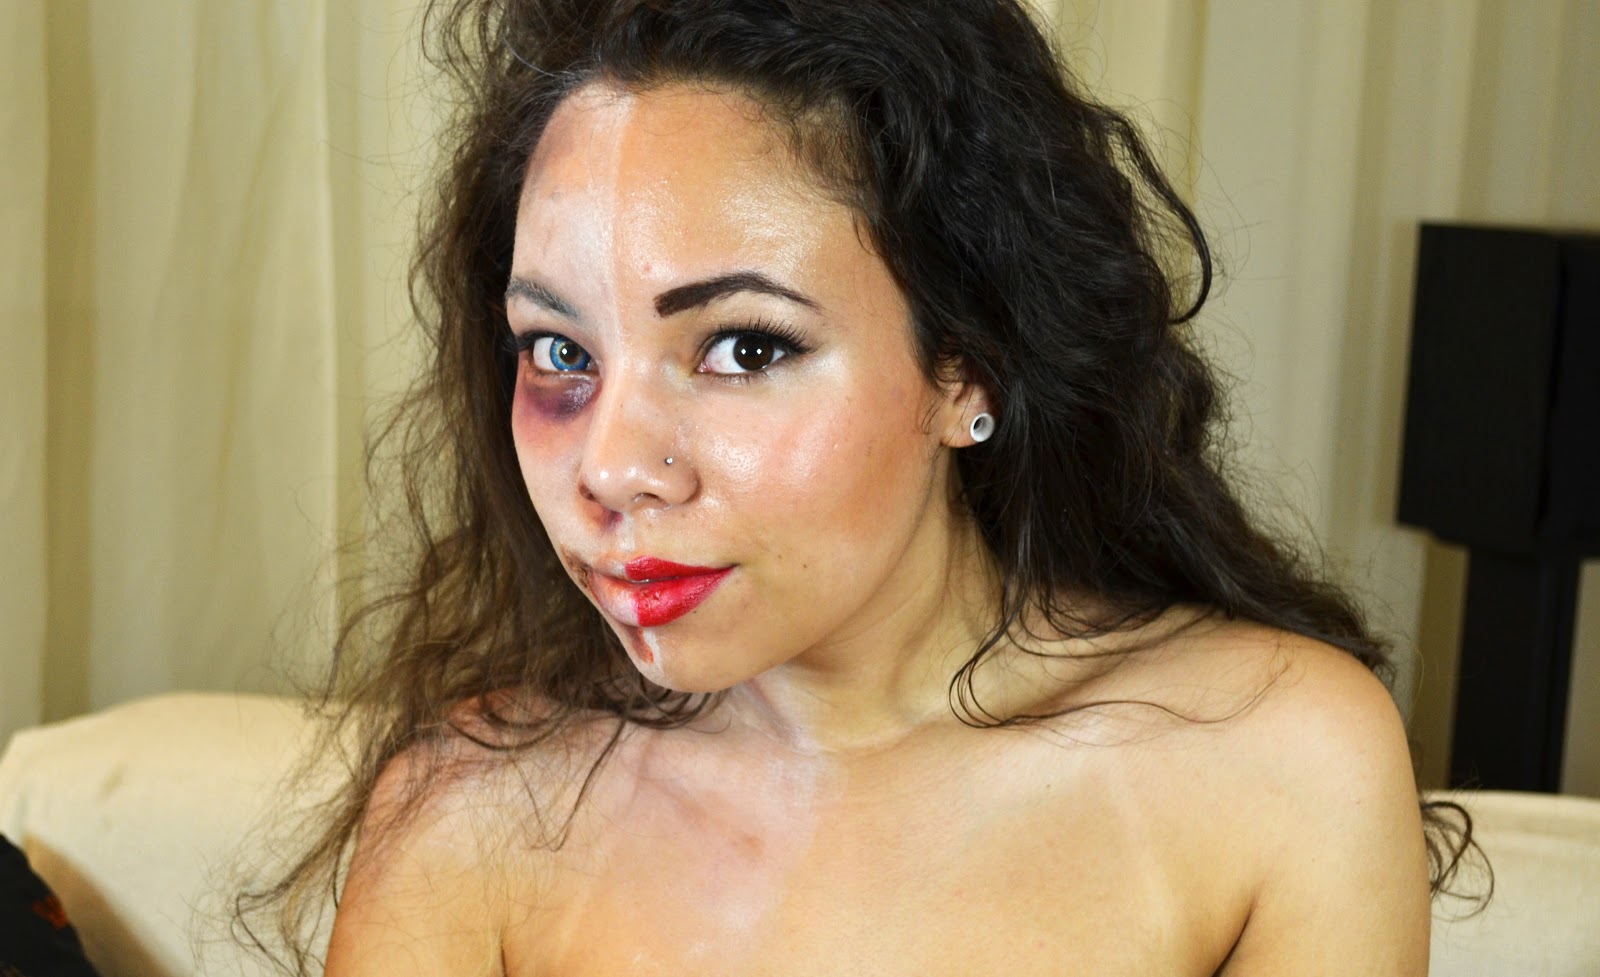
I finished up with some pressed powder all over my face to make the white look closer to a paled version of my skin tone.
For the beauty side, I just did some natural brown eyeshadow with a winged black eyeliner and fake lashes. Sculpting your eyebrow is a MUST. And then just put on some red lipstick and blush.
Finally, brush out the hair (make it cray!), dust some baby powder all over to give it a dusty dirty look and plop a blue circle lens (or a cool Halloween one) in the eye on the zombie side and you are all set!
Gothic Doll
A Gothic Doll looks is fun because you probably already have the outfit for it. All you need is something cute, and it can always be day to day wear. And, all you really need to buy are false lashes and possibly white Halloween face makeup.
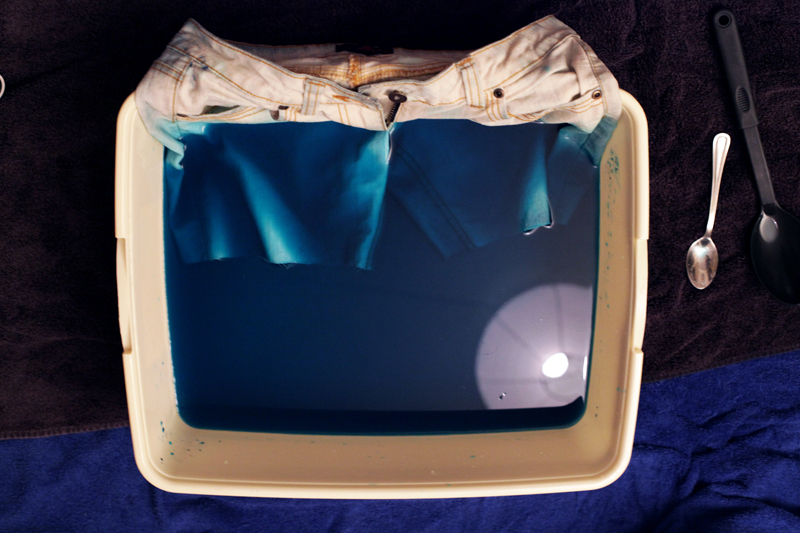
To get this look, start by applying a foundation two shades lighter than your natural skin tone. Blend down the neck as far as you want. I used some of the white halloween makeup, mixed with my regular foundation.
Trace on your eyebrows. You can have fun with them and add a bigger arch if you want to look really cartoonish.
Apply a light pink eyeshadow over your lids. Then, add a slighter more vibrant pink at the corners. Using a contour brush, apply a darker shade of magenta to your crease and blend it so it looks like a smoky eye.
Use a white eyeliner for your water line and below your eyelashes. Take a black eyeliner pencil and outline around this to form your new lower eyelid. Apply false lashes around this new lid. Then, apply false lashes to your regular upper eyelid.
Using a super bright pink blush, apply generously to the apples of your cheeks in a circle.
Lastly, conceal your lips and then using a lip liner, trace out your perfect doll pout. If you need help on this step, there are plenty of videos on youtube. Just look up “doll lips”.
OPTIONAL: Buy fake bangs! They are add so much to the look, especially if you do pig tails.
Good luck! If you have any questions, just comment below.
Passion